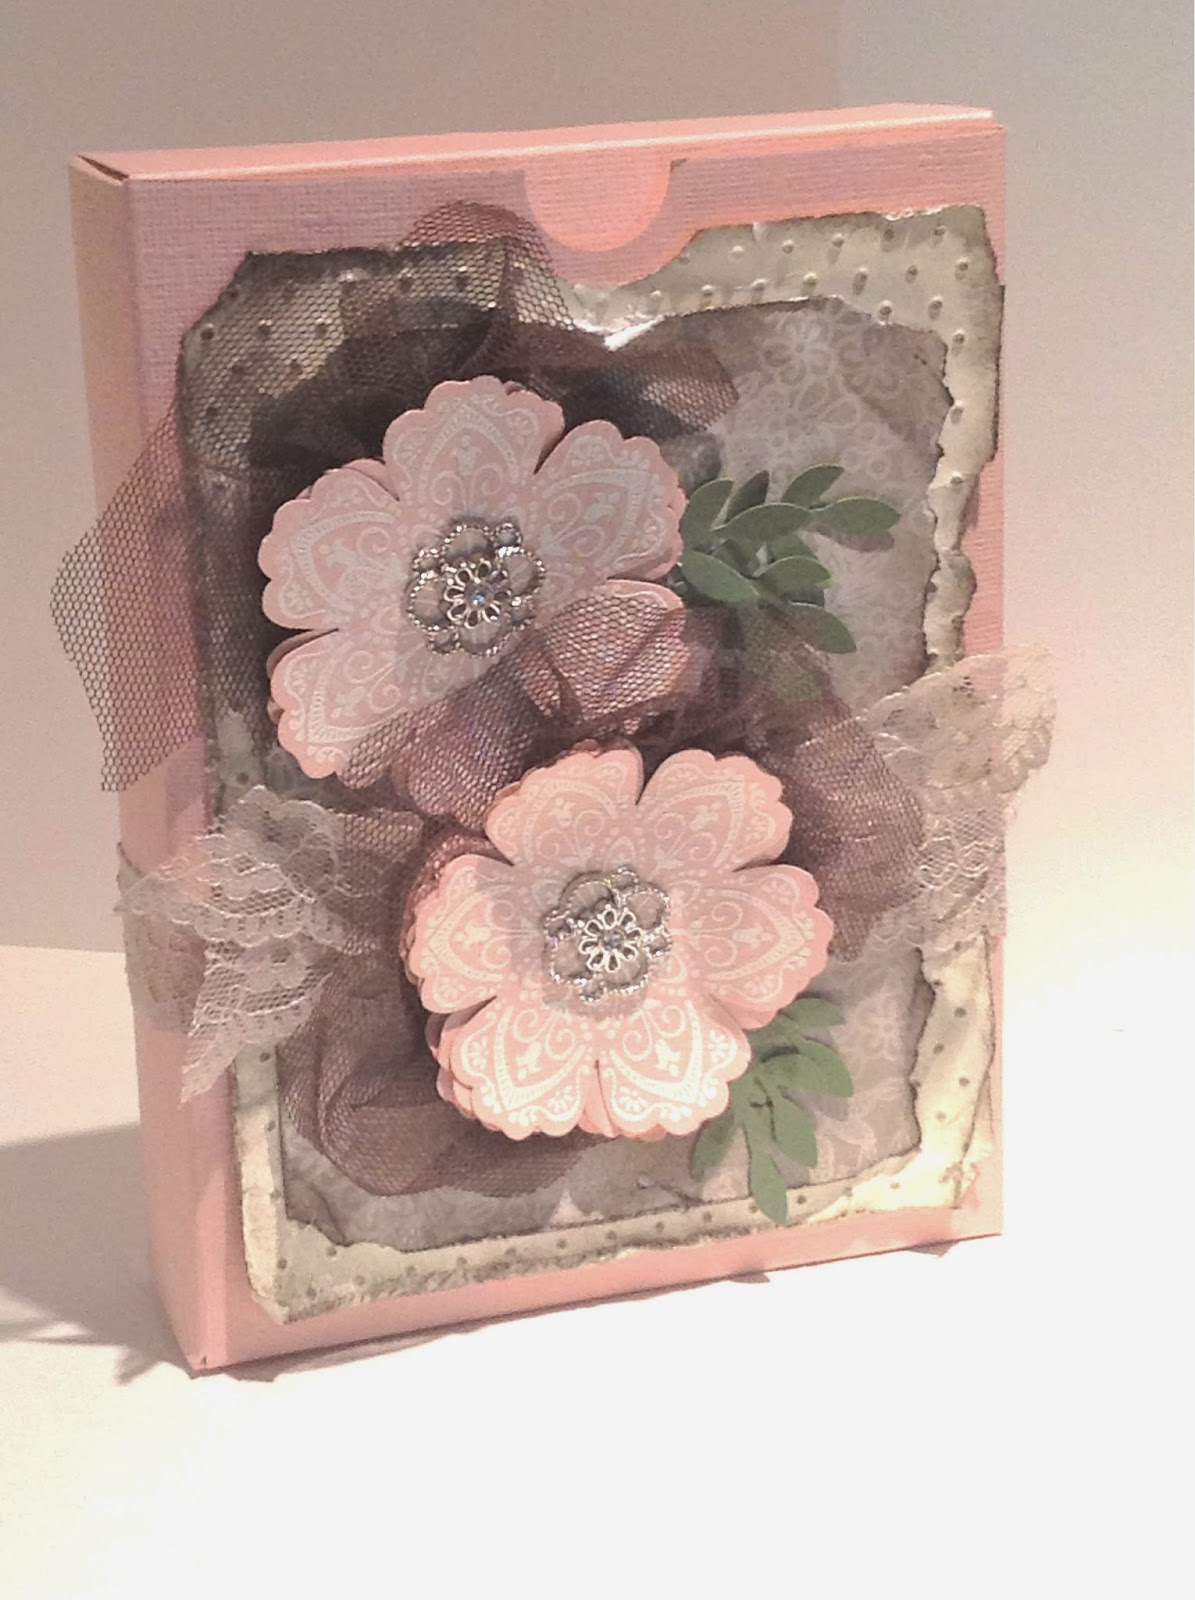
I love making this gift box. It's so easy, and fun to decorate. It will hold 4 or 5 lumpy, or 6 or 7 flat cards with the envelopes, and makes a great gift for those who love to send pretty cards, but don't make them, themselves.
Instructions on how to make the box here.
I used
12 x 12 card stock, Blushing Bride
4 x 5 1/2 card stock, Very Vanilla
3 3/4" x 5 1/4 Something Borrowed DSP
a little bit of Always Artichoke
Early Espresso Ink and Stampin' Sponges
Mixed Bunch Stamp Set,
Versamark, White Embossing Powder, & heat tool,
Blossom Punch, Bird Builder Punch
7/8" Sahara Sand Lace Trim,
Early Espresso Scalloped Tulle Ribbon,
Polka-Dot Embossing Folder and my Big Shot
Two buttons or brads (I recommend Antique Brads)
The trickiest part was choosing adhesives to get the various surfaces to stick. Here's what I used:
Layers of paper flowers to each-other: normally, I would use snail tape or glue dots. However, because I used split paper* to make the flower layers, I used a glue stick between the layers. A better choice, I think, would be to use a brad, but I didn't. Maybe next time.
Tulle to paper: Snail tape. Run snail onto the tulle, press one end to flower, then bunch small bits of the tulle and stick them to the flower one bit at a time.
Flower with tulle to box: if your bottom layer of flower is smooth side down, use sticky strip for extra strength. If the bottom is fuzzy, you won't be able to uncover the sticky strip without ripping it from the paper. SO, here's where the brad helps. Just add an extra scrap hidden at the bottom of the flower. Otherwise, you'll have to use my almost fail method: put a little Tombo (white glue) on the flower and onto the box. Dry both with a heat tool until they are tacky. Stick 'em together, and voila! Cement.
Lace trim to box, Paper layers to box: snail tape. To get that raggedy look, don't put the snail all the way to the edge of the papers.
Leaves to paper: glue stick, leaving the top few leaves loose.
No comments:
Post a Comment